Journey Planner
Journey Planner is a handy way for field service workers to optimise their travel time to their desired areas.
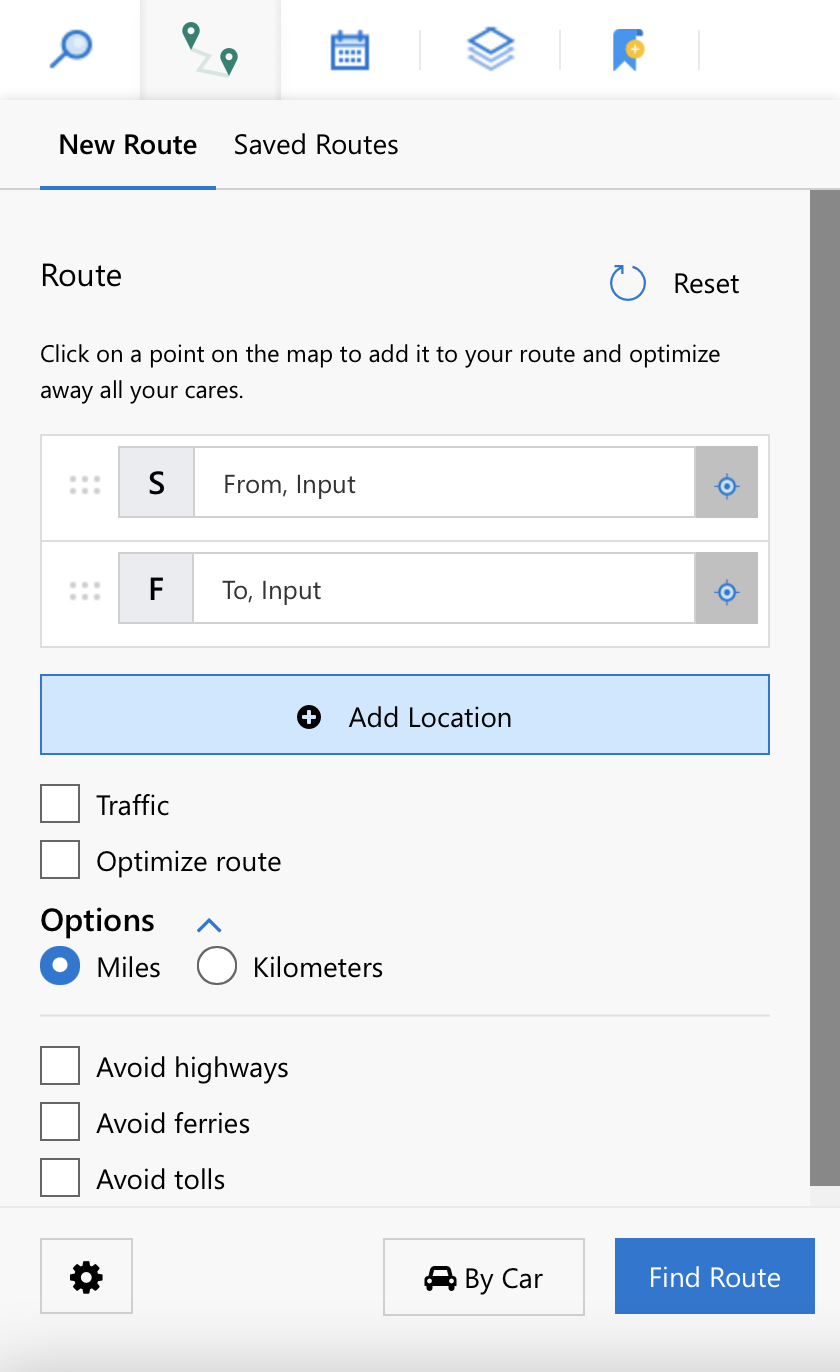
Figure 35: Route Tab.
New Route
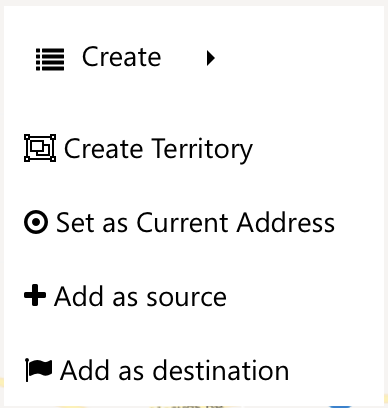
Right clicking on any point on the map and selecting Add as source or Add as destination
Figure 36: Add as Source or Destination Buttons.
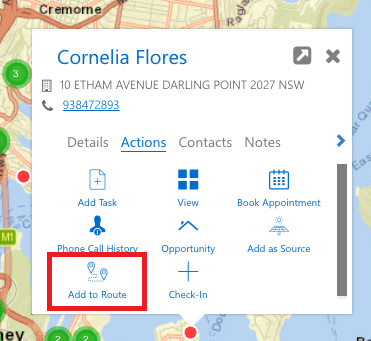
User can add records from the info box by clicking on the respective account on the map and selecting Add to Route. Address will get auto filled in the route tab.
Figure 37: Info Box Add to Route Button.
Once a user has added all route destinations, click Find Route and this will show a route on the map and some general route information as shown below:
Figure 38: Create New Route.
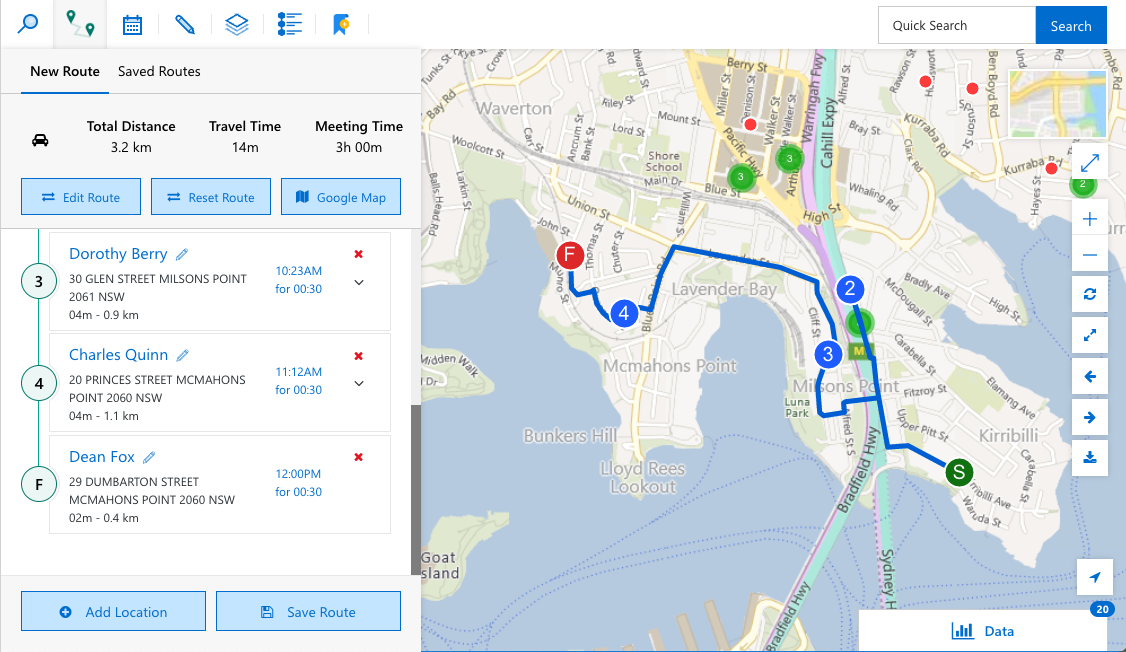
From here you can either add more locations to your route and/or save this route (if you plan to re-use this route frequently).
In the information section the Total Distance, Travel Time and Meeting Time is displayed. Below this information you can either go back to edit the route, reset the route completely or go straight into Google Maps for navigation.
- On mobile devices this will launch your navigation app
- On desktop devices this will open Google Maps and from there you can send these directions to your phone
Users can enable the Traffic tick-box to get an overlay view of the current traffic information. Optimizing a route will grab the destinations and pick out a more efficient route (Only available with Bing Maps).
Expanding the Options menu will allow users to configure your routing criteria:
- Changing Units from Miles to Kilometres
- Avoiding Highways
- Avoiding Ferries
- Avoiding Toll roads
Selecting the cog icon on the bottom left of the Route tab will show overall route settings. From here users can determine your start and end time, as well as meeting duration and padding time.
Meeting duration is applied to every destination you have in the route, and padding is applied between every visit.
Saved Routes
Saved Routes show and user saved any routes under My Routes, and any administrator configured routes under Global Routes.
Figure 39: View Saved Route.
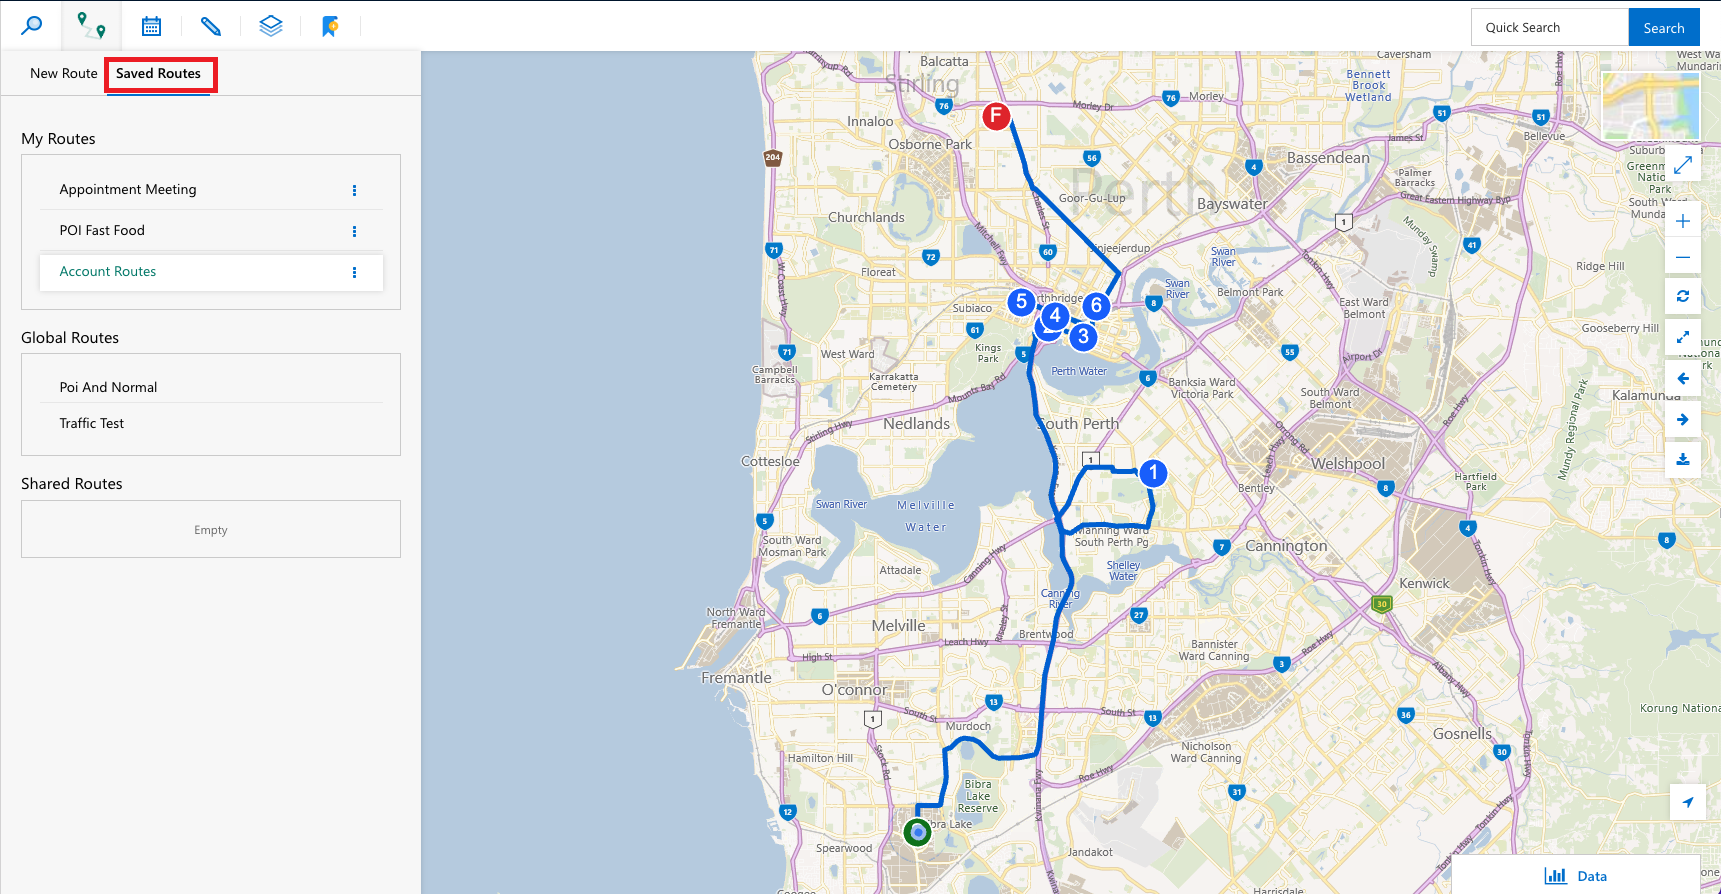
Saved Routes have 3 categories as shown in the above figure:
- My Routes
- Global Routes
- Shared Routes
My Routes
Users saved routes appear here. User can also share a personal saved routes with other teams/users. user can do this by expanding saved routes tab, finding the relevant route and clicking on the three dot icon and choosing the highlighted icon below:
Figure 40: Share Route Button.

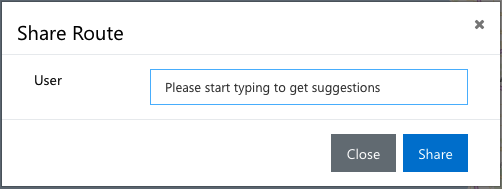
This will open a share route form in which user can search the User to share saved query with.
Figure 41: Share Saved Route Form.
Global Routes
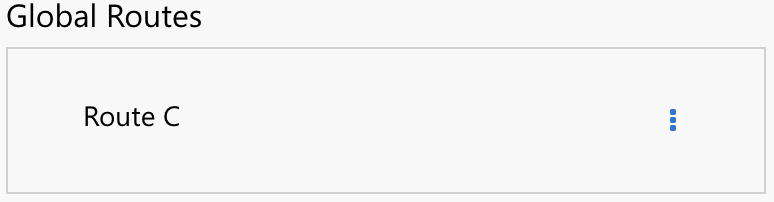
Users with elevated permissions can create Global Routes that will be visible for all users.
Figure 42: Save Route as Global Query.

Figure 43: Global Routes.
Shared Routes
When a user has shared a saved query to current User/Team it will be seen in this section.
Figure 44: Shared Routes.