Configuring Dynamics 365 & PowerApps
PowerApps Configuration
Before we begin setting things up, please note this tutorial uses a Power Apps Site with the Application Submission template. This will provide us with useful tables.
Throughout this tutorial you will see references to components with the prefix of mapdemo_. This will not necessarily match your publisher prefix.
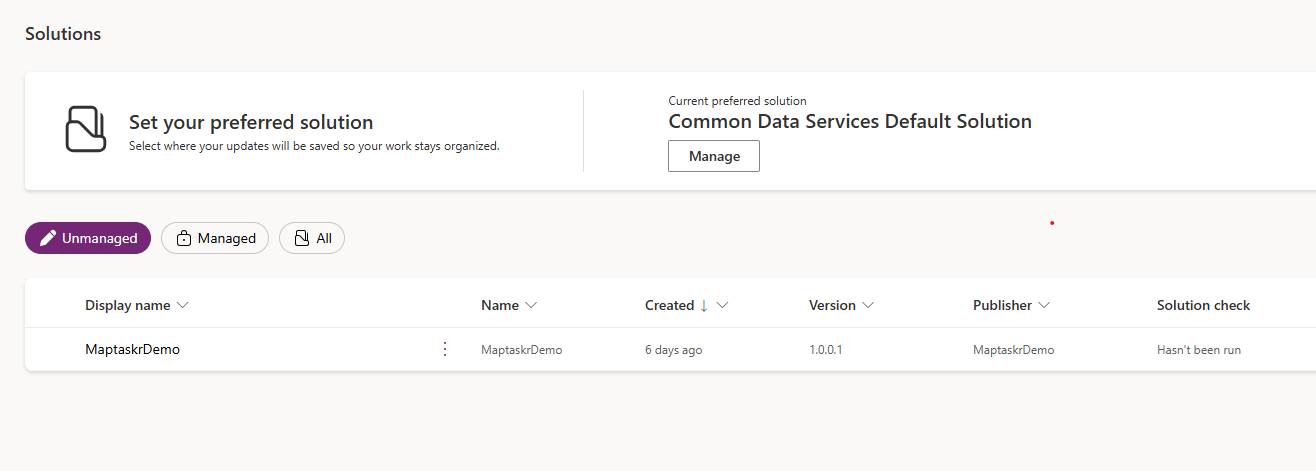
Firstly, let's create a solution so that all of our work is easily accessible in one place.
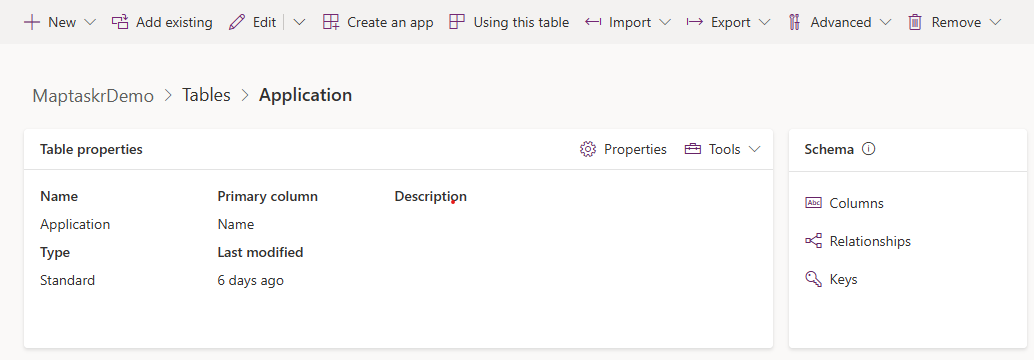
Now that we've created a solution let's add the bp_defaultapplication table into the solution with no additional objects or components.
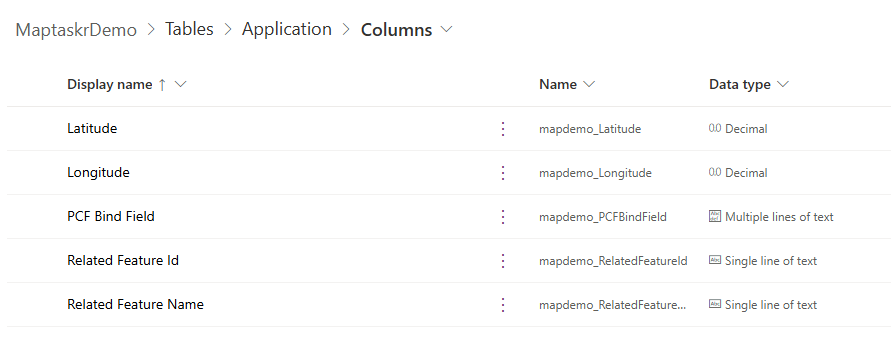
Then we want to create the following columns:
- Latitude - Decimal
- Longitude - Decimal
- Related Feature Id - Single line of text
- Related Feature Name - Single line of text
- PCF Bind Field - Multiple lines of text
Based on your requirements, you can add more or less columns.
Next, we will create a form that will be used for the Portal. This should contain at least two tabs, the first tab should contain basic details or required fields, and the Maptaskr PCF contained on the second tab. In our case, we will call this tab Tenement Location and place our newly created columns into a single column section. Then we bind the multi line text field we created earlier to our PCF. We don't want users to be able to draw anything so the configuration will reflect as such and we will return later with layer details. Save and publish, and we can now go into Maptaskr for Dynamics/Power Apps to set up our layer.

Maptaskr Configuration
In the Dashboard map, we will now create our layer that will be used on the Portal. For this tutorial, we will use a SLIP/Landgate open layer purely for demonstration, and you will have to substitute this with your own.
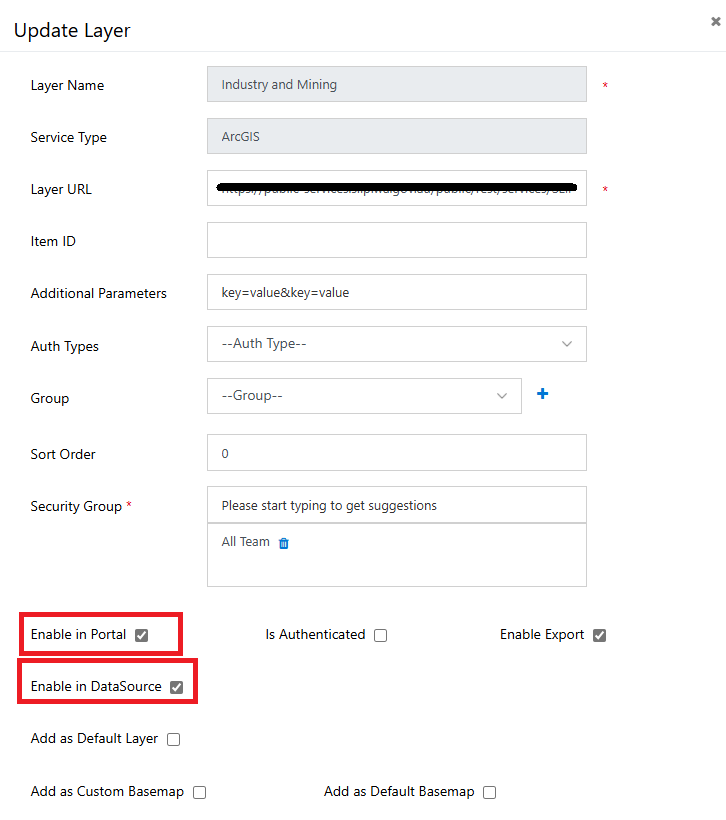
Ensure that your layer has the following checkboxes selected:
- Enable In Portal
- Enable In DataSource
To get the layer turned on by default in the Portal, we will need to grab the layer's ID.
To do this, simply turn the layer on and request the layer attributes. The layer attributes may have quite a number of pages to load, so you can click on Cancel at any time to display what has been loaded so far.
Now that the layer attribute table has loaded, refer to the section underneath the title of the layer with the prefix of ID: as shown below.

Copy the ID text of this layer and hold on to it, as we will use this in one of the final stages of configuration.
Next, let's go into the Data Sources page and create a new data source for the bp_defaultapplication table.
Refer to the table below for the values to input into the data source table. Note the values in bold will need to reflect your own column schema names.
| Column Name | Value |
|---|---|
| Entity Name | bp_defaultapplication |
| Display Name | Permit Application |
| Title Field Name | bp_permitname |
| Has Address | Yes |
| Latitude Field Name | mapdemo_latitude |
| Longitude Field Name | mapdemo_longitude |
| Is Address Required | No |
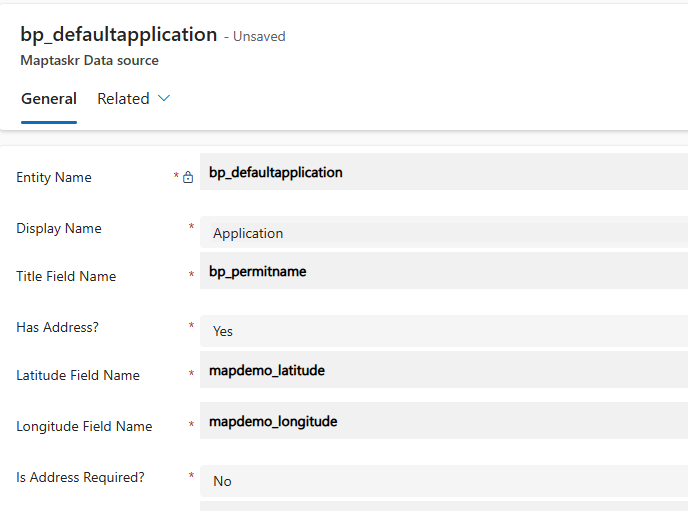
For the remainder of the data source configuration you can refer to our Data Source Configuration guide.
The last piece in Data Source configuration can be found in the GIS tab at the bottom of the Data Source form.
We want to select our layer in the ArcGIS Layer dropdown. If you have provided a layer without a specific ID you will see a Select Sub Layer dropdown appear.
Check the following checkboxes:
- Show Only Filtered Features
- Visibility
- Zoom
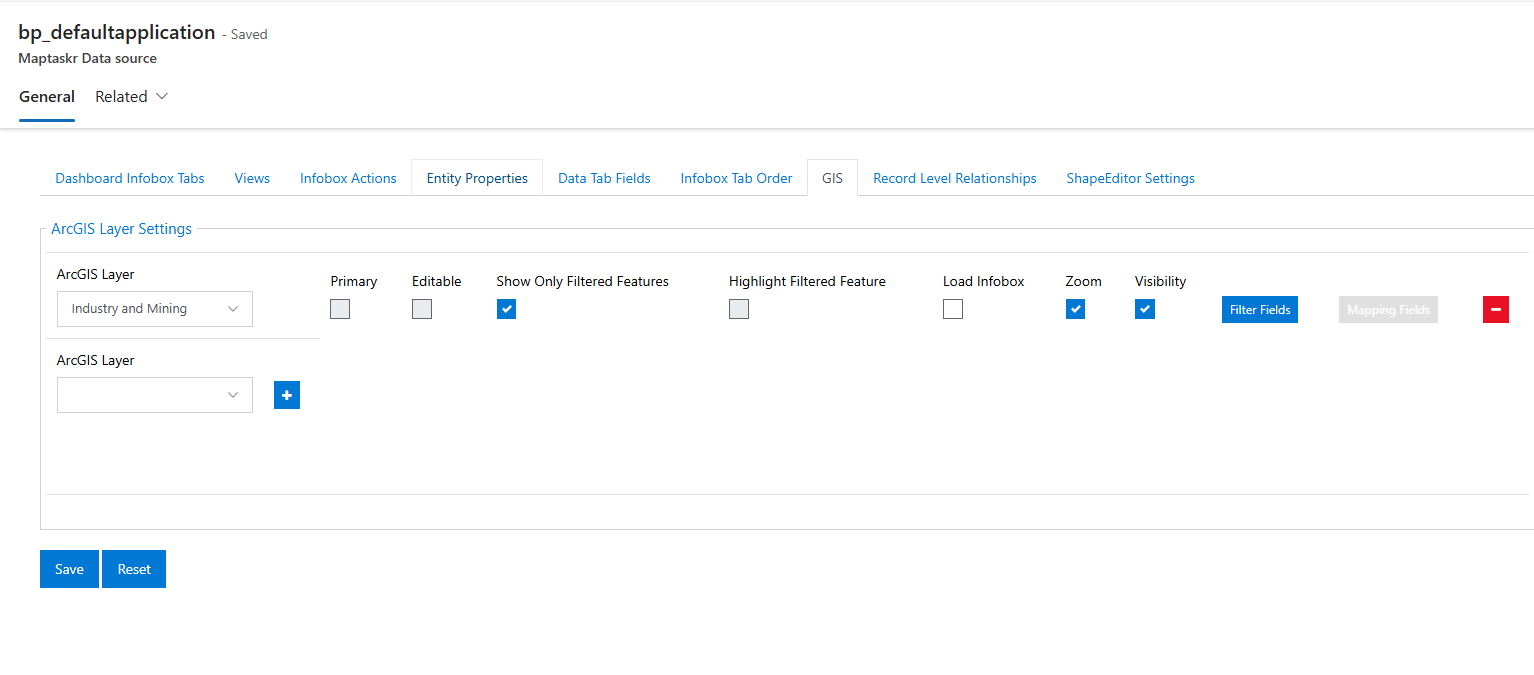
Then select the Filter Fields button and you will see a pop-up that allows you to bind an ArcGIS layer field to a table column that will be used to filter the correct feature on the map.
In our case, we have bound the mapdemo_relatedfeatureid column to oid.
Click Save.

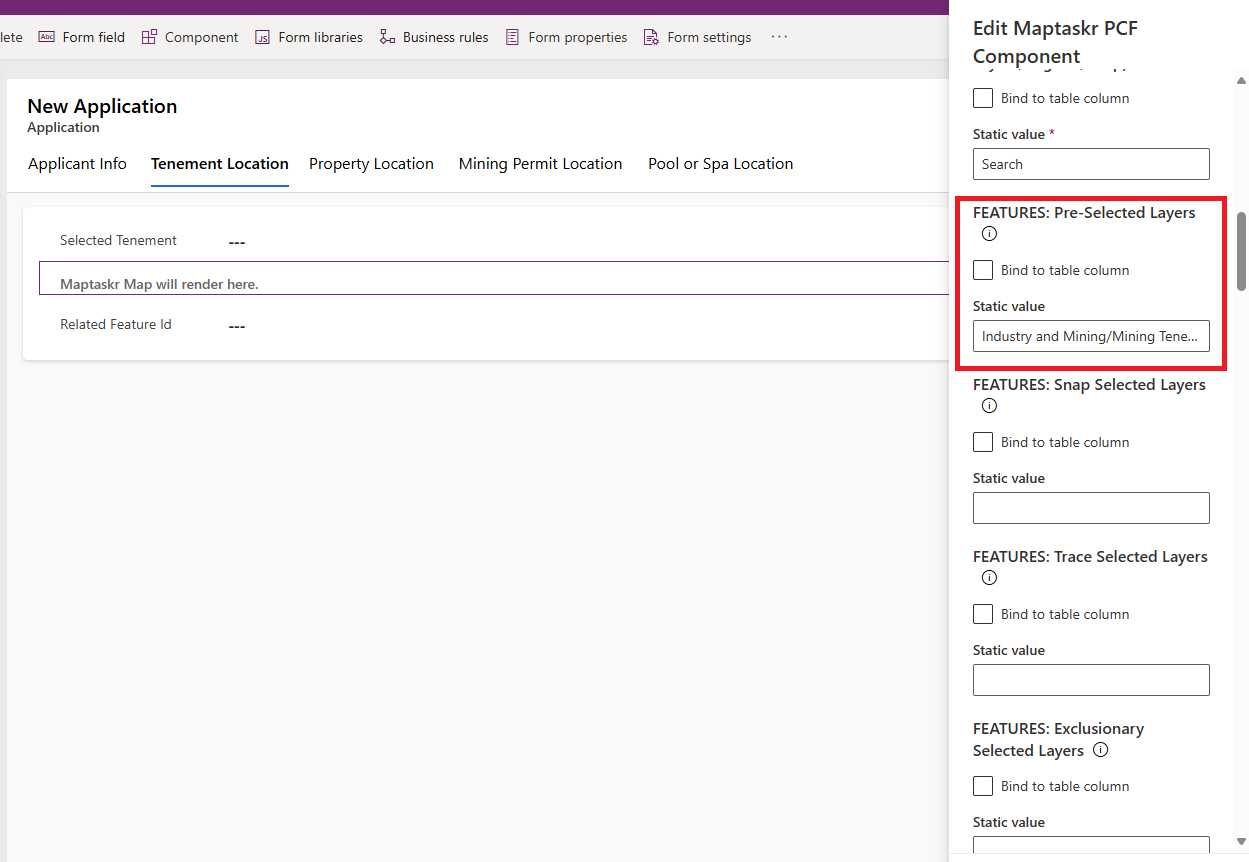
This concludes the necessary set up within Dynamics. All that is left is to go back into form we have previously created and update the PCF configuration.
In the FEATURES: Pre-Selected Layers configuration option, paste the layer ID you grabbed earlier. Click Done and then Save and publish.
The next section will cover the custom JavaScript required within Power Pages Management.