Creating the Power Automate flow
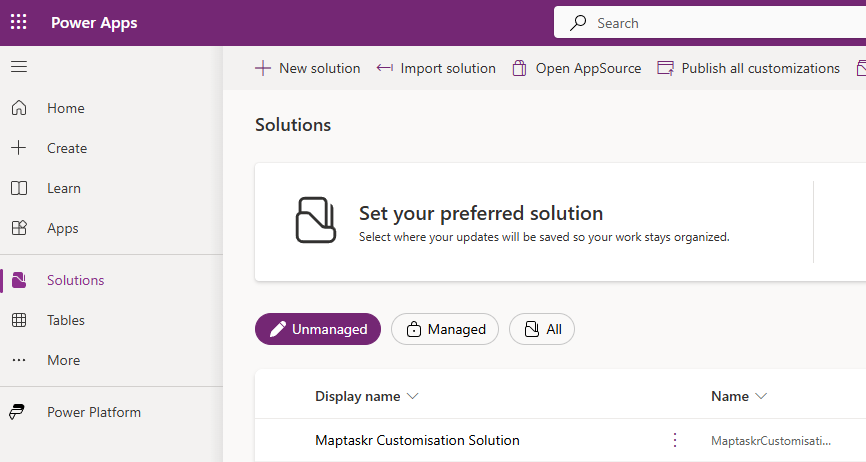
Although not a requirement, we suggest creating your Power Automate flows in a Solution. This is a simple unmanaged solution. You don't need to create the flow within a solution but it helps with keeping objects organised within your environment.
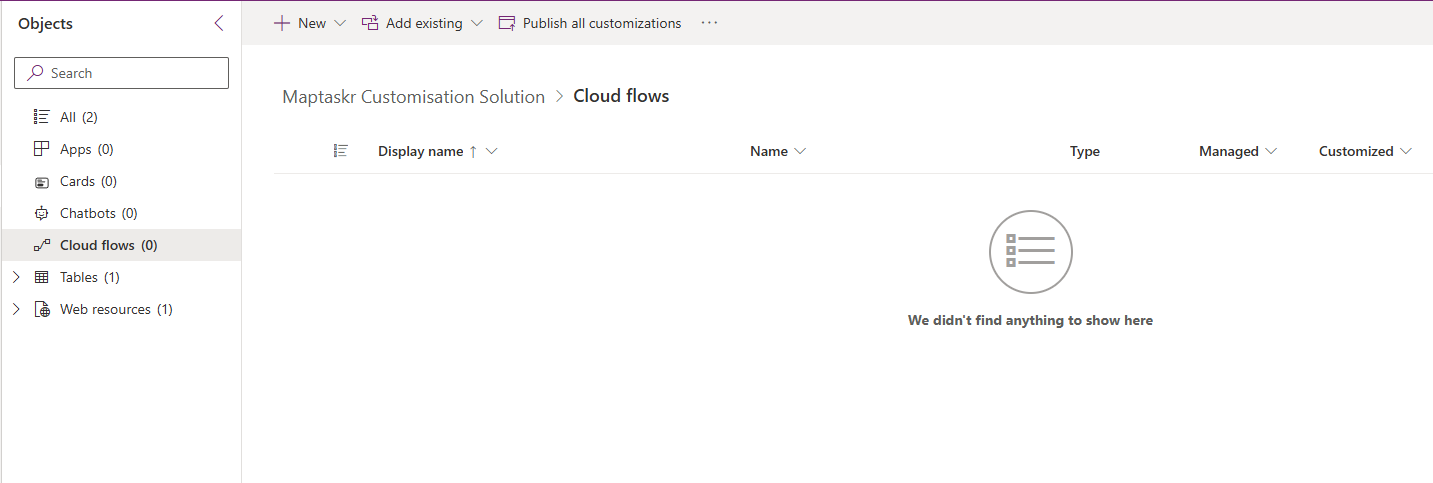
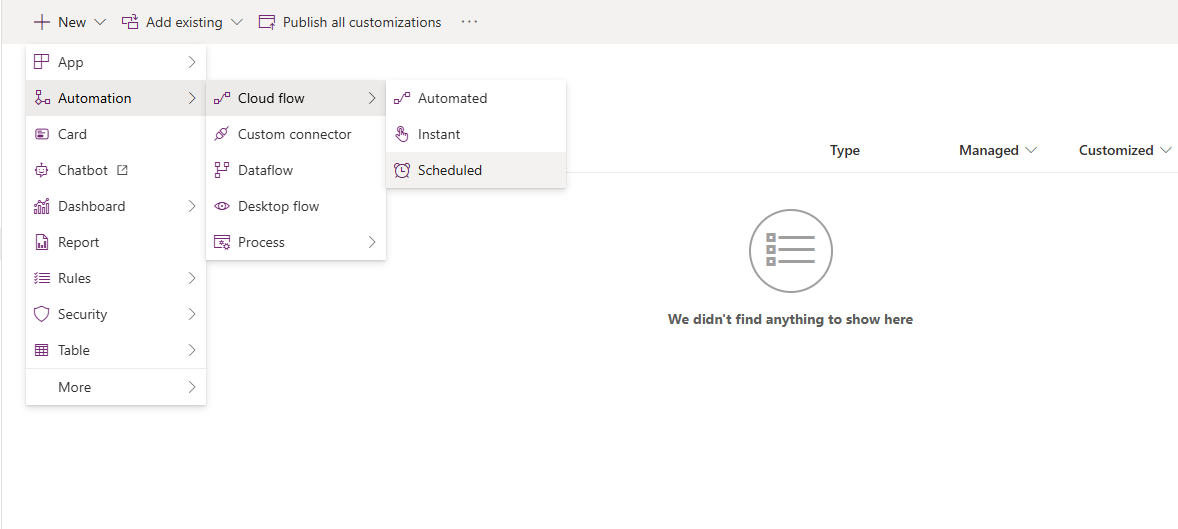
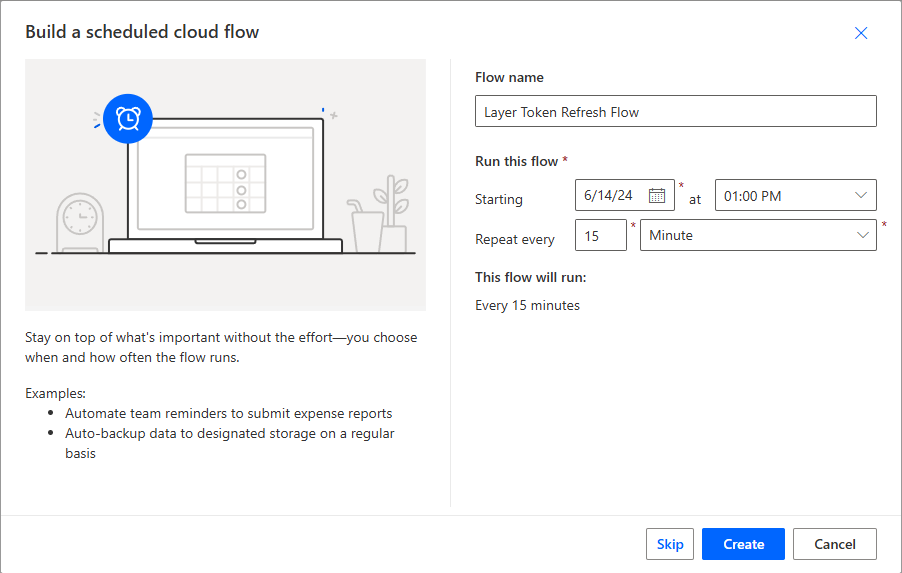
Let's go into the solution and add a new scheduled flow.
The timing of your scheduled flow depends on the configuration of your ArcGIS Server. We've found that most default configurations have a 24 hour expiry on tokens, but we've also seen some servers that only offer tokens with a 15 minute lifespan. We would suggest that your automated flow execute twice every token lifespan. This ensures that if a user gets a token, that they will have a refreshed token before theirs expires.
For this example we have chosen to demonstrate a refresh time of 15 minutes (on a layer with a token expiry of 30 minutes).
First step/action we add into the flow is the Get Environment as Admin action which is within the Power Apps for Admins connector, and select the appropriate environment.

Next step/action to add is the HTTP action found within the HTTP connector. Let's start populating the basics of our request.
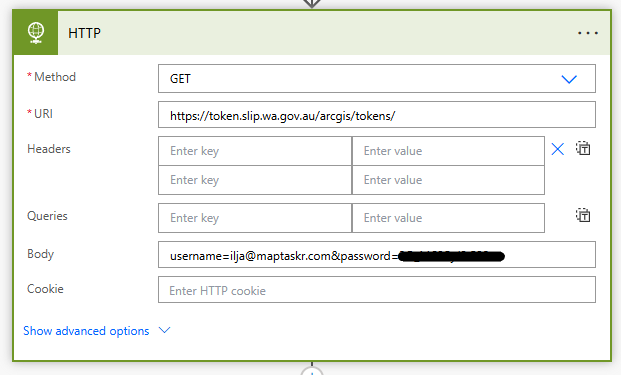
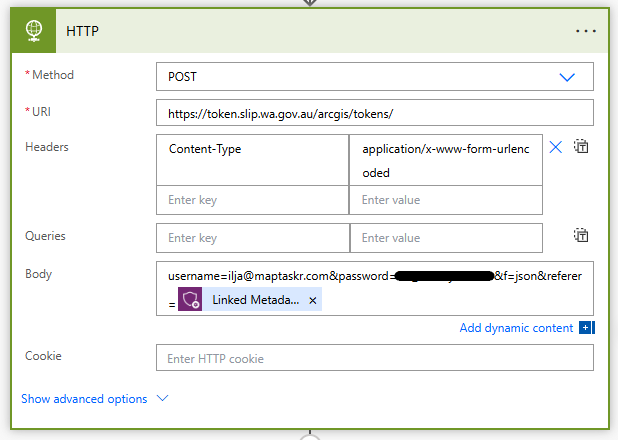
Because we're passing a body in our request, we need to do the following:
- change the method to
POST - add
Content-Typekey andapplication/x-www-form-urlencodedvalue into the list of headers
Parameters in the body are written in the format of key=value and are separated by the & character.
Along with the username and password (or clientID/Secret if your token endpoint supports it) we need to add two more parameters:
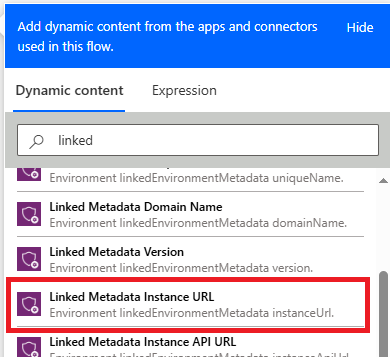
f: this indicates the format of the response. We want this to bejsonso that Power Automate can parse the response easier.referer: this limits from which url the token requests can come from. This is where theGet Environment as Adminaction comes in handy. Assign it the value ofLinked Metadata Instance URL. This will allow the token to come from requests within your Dynamics 365 instance.
For more detail about Acquiring ArcGIS Server tokens, please refer to their documentation here: Acquire ArcGIS Server tokens
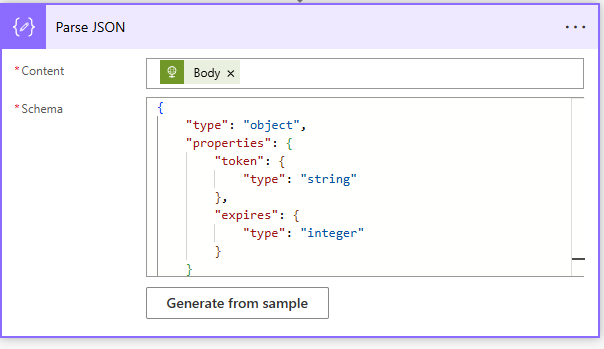
Now let's add a Parse JSON action which is found within the Data Operation connector.
This action will be responsible for consuming the response containing our token from the ArcGIS endpoint.

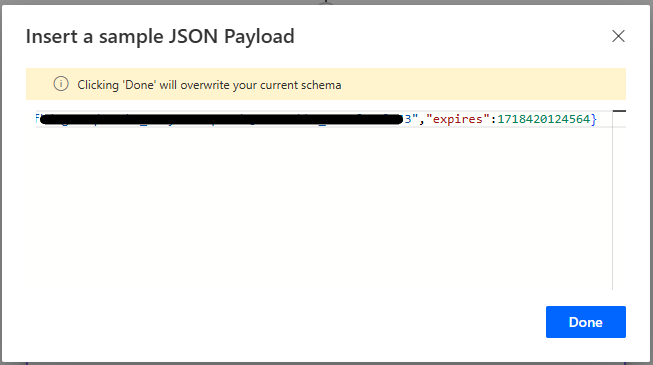
To make the process easier, we should generate the schema from a sample. To do this, go to your ArcGIS Token generation endpoint in your browser and manually login to get a token response. Here's what an example of ours looks like:

Below is a json schema sample matching the output above. Please note that your response schema may be different depending on ArcGIS settings.
{
    "type": "object",
    "properties": {
        "token": {
            "type": "string"
        },
        "expires": {
            "type": "integer"
        }
    }
}
Now Power Automate will automatically convert the example payload into a schema.
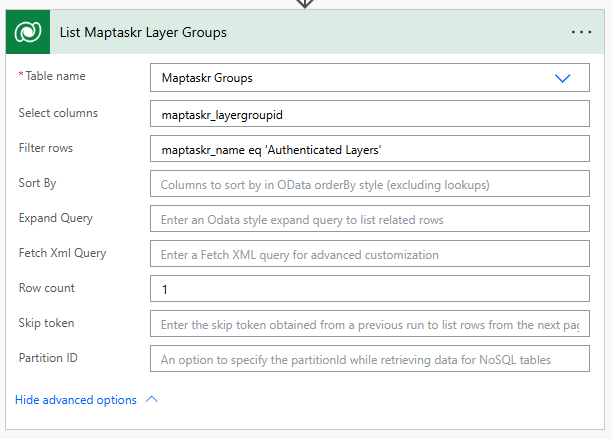
Next, let's add a List Rows action that is found within the Microsoft Dataverse connector.
Specify the Maptaskr Groups entity in the Table name dropdown and type in the maptaskr_layergroupid column in the Select columns section.
The filter we want to apply is based on the layer group name you created earlier. In our instance it is Authenticated Layers so our Filter rows section should read maptaskr_name eq 'Authenticated Layers' (don't forget to encase the name of the group in quotes)
Row count is not neccesary here, but we've set it to 1 since we only have one group that we want to apply the token to.
Now let's add another List Rows action found within the Microsoft Dataverse connector.
Specify the Maptaskr Layers entity in the Table name dropdown.
For the Filter rows section we want to type in _maptaskr_group_id_value eq (please note that Dataverse denotes the GUID component of a lookup with the use of a prefixed underscore _ and suffixed with _value) and the value we want to provide is the Maptaskr Group lookup value from the previous action.
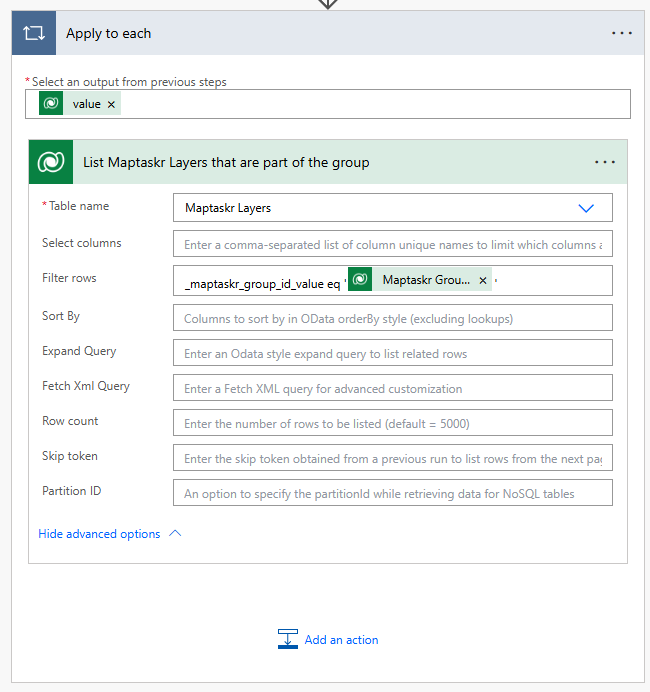
As soon as you reference a value from a List Rows action, the action you're modifying will automatically be wrapped in a Apply to each loop.
Now let's add a Update a row action found within the Microsoft Dataverse connector.
Specify the Maptaskr Layers entity in the Table name dropdown.
For the Row ID section, provide the Maptaskr Layer value from the previous action.
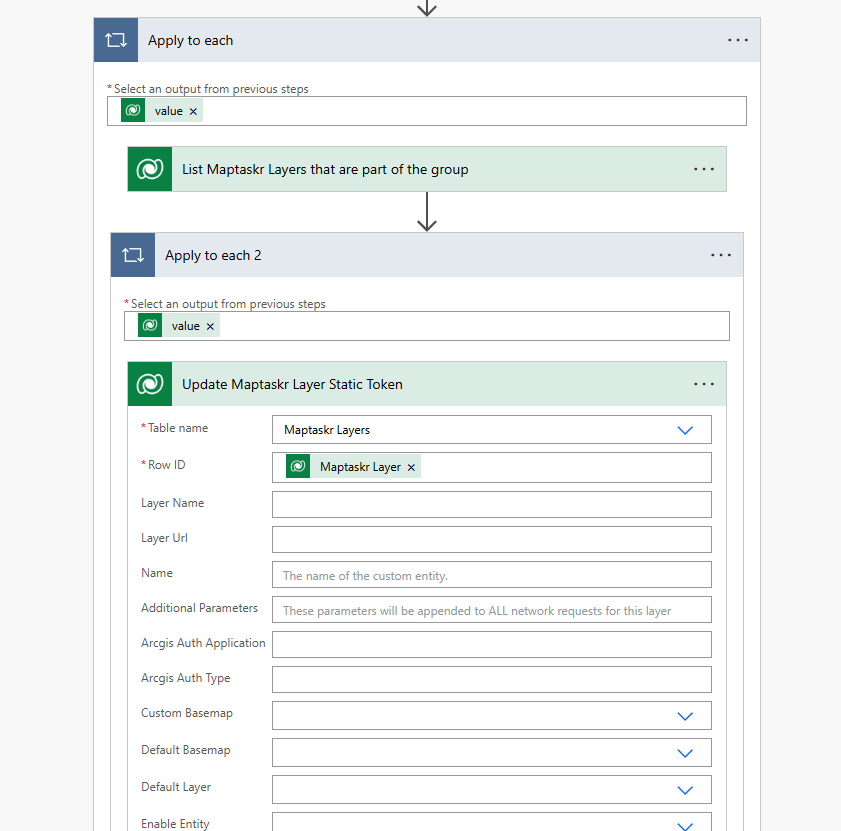
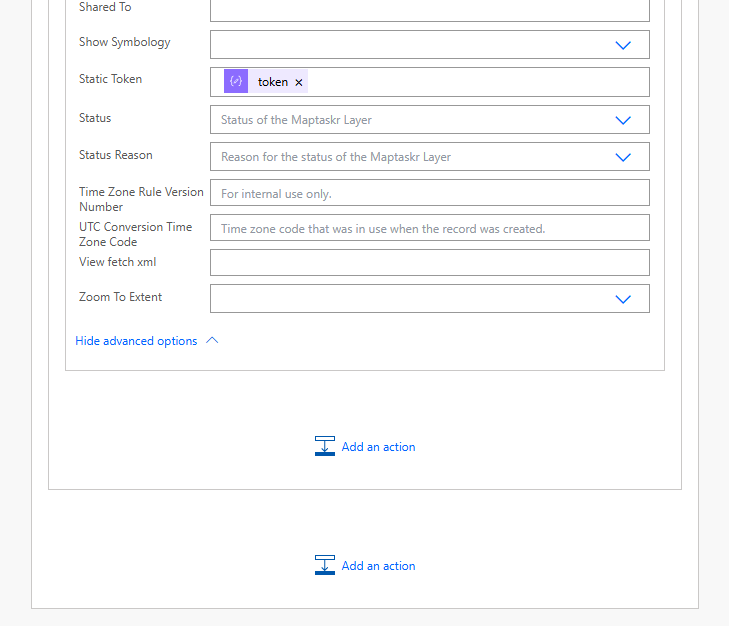
Scroll all the way down until you see the column Static Token.
For this section, set it to the token parameter from the Parse JSON action we defined earlier.
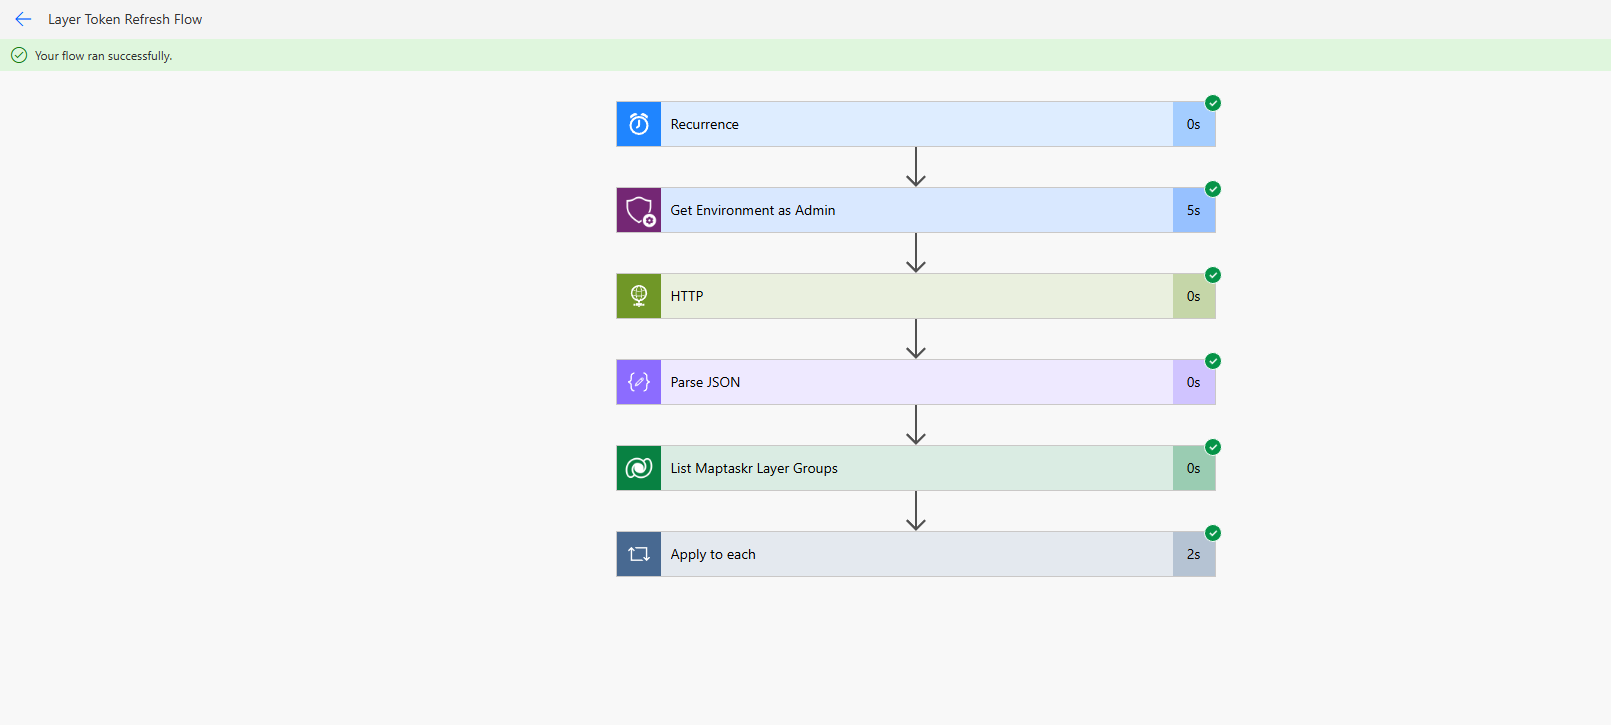
Now let's give the flow a test run and make sure everything is working as intended.